
I had some leftover strips of FRP (Fiberglass reinforced plastic) from a job that I did at work, They were going to be thrown away anyway, why not recycle! Each strip was 1 ½’ wide x 8’ long.

The fiberglass strips were cut using a Jig saw with a metal cutting blade, this aided in getting a much better cut while not melting the plastic as I went. I cut around all obstructions in the trailer frame and then laid out the strips as they would be installed.

 After layout was completed I went along and drilled holes for each bolt, I figured why not go a bit crazy so each cross member and each FRP sheet received two bolts each. This was where I learned my nice portable drill had decided that its lifespan was complete. I had to go out and buy a corded drill, which worked out a lot better anyways. No need to worry about charged batteries on this job!
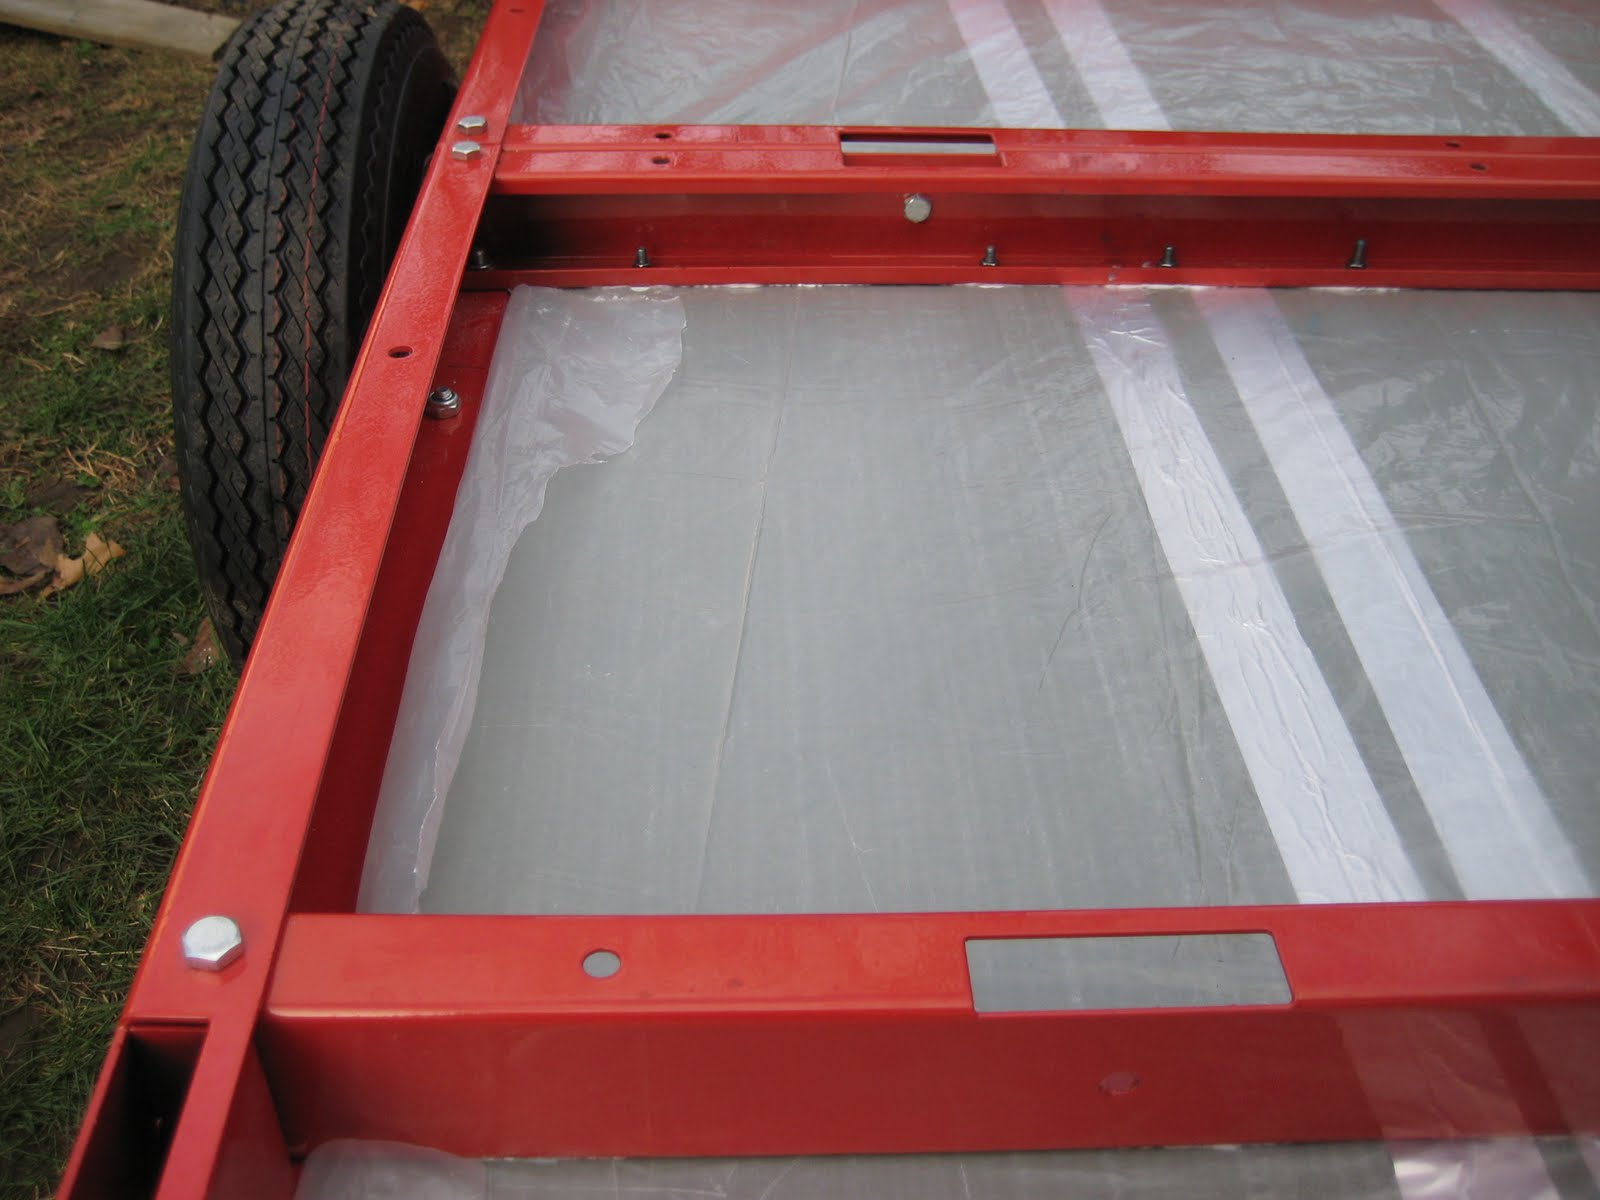
We decided the best way to waterproof this job would be by applying a layer of 2 Mil poly underneath the FRP sheets. I did this by first applying a layer of caulk to each cross member and then applying the poly, using the caulking as kind of a glue to hold the poly in the brisk breeze that we had this day.

Once the poly was down I put the bolts through the pre-drilled holes, caulking the bolt holes and applying lok-tite as I went. I also applied a strip of aluminum tape to the underside of each FRP sheet as they joined together just as an added precaution.

Finally the last sheet was on and all the poly was trimmed. We applied caulking between the panels and another strip of aluminum tape. This trailer is officially as water tight as it can get from the underside. Hopefully this is the last time I have to flip this trailer.

And this is how it looks as the trailer is right-side up.
Next post: Wiring the lights so we can test drive this trailer!
No comments:
Post a Comment