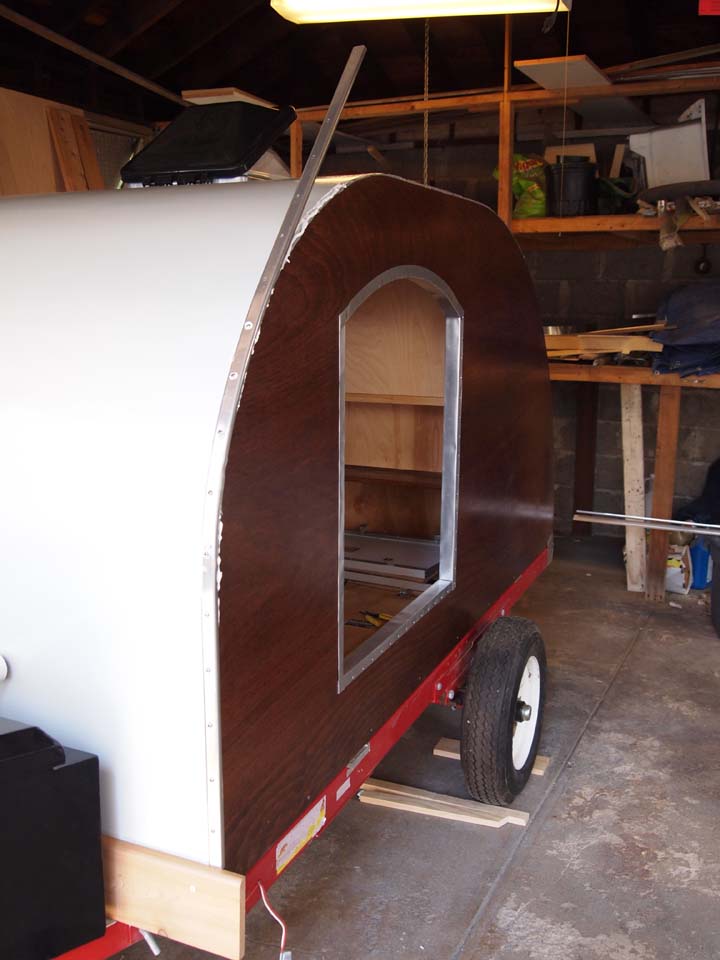
With the paint fully cured and the electrical done, now
came the fun part, installing the metal drip edge, re-installing the hurricane
hinge and finishing out the hatch!! With
these steps done, the end would finally be in sight.
Our first step was to re-install the trailer side of the
hurricane hinge. We first ran a heavy
bead of caulk along the bottom of the hinge, then simply centered it on the
roof where the previous holes had been drilled and screwed it in. We did this before the metal drip edge so
that we could later notch the drip edge around the hinge.
The metal drip edge was purchased from Lil' Bear Tag-Alongs (the same place we ordered the hurricane hinge). We first applied the same silicone putty we
used at the vent fan. We were
left with up to a ¼” gap between the edge of the roof and the edge of the wall,
so we hoped this would help seal this gap.

Then we ran a heavy bead of caulk along the drip edge and
carefully lined it up on the bottom corner of the trailer. We decided the best way to bend the trim was
to install the screws from the bottom up and bend it into place as we
went. It took a little muscle and care,
but worked out pretty well. To help with
preventing water infiltration, we also added a dab of caulk to each hole before
tightening down the screw.

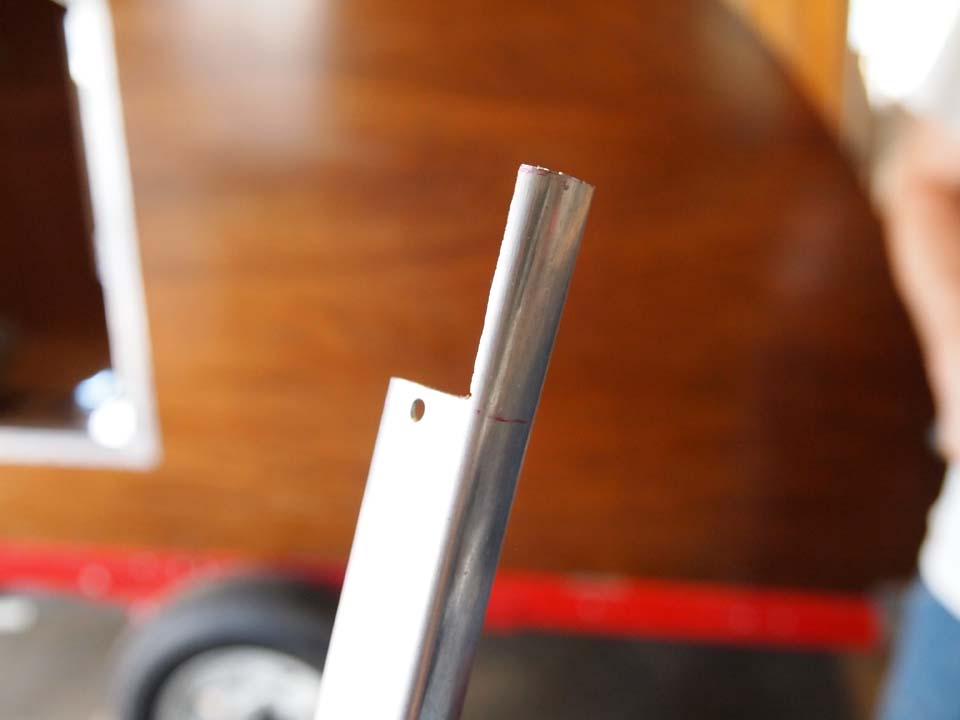
We ordered our drip edge in 4’ lengths for easier
shipping, so this would leave us a seam above the door. Before installing the second length of drip
edge, we carefully measured out where it would hit the hinge so that we could
notch out the trim. The goal was to have
the face side of the trim run past the hinge to protect the wood and give us a
more finished look.

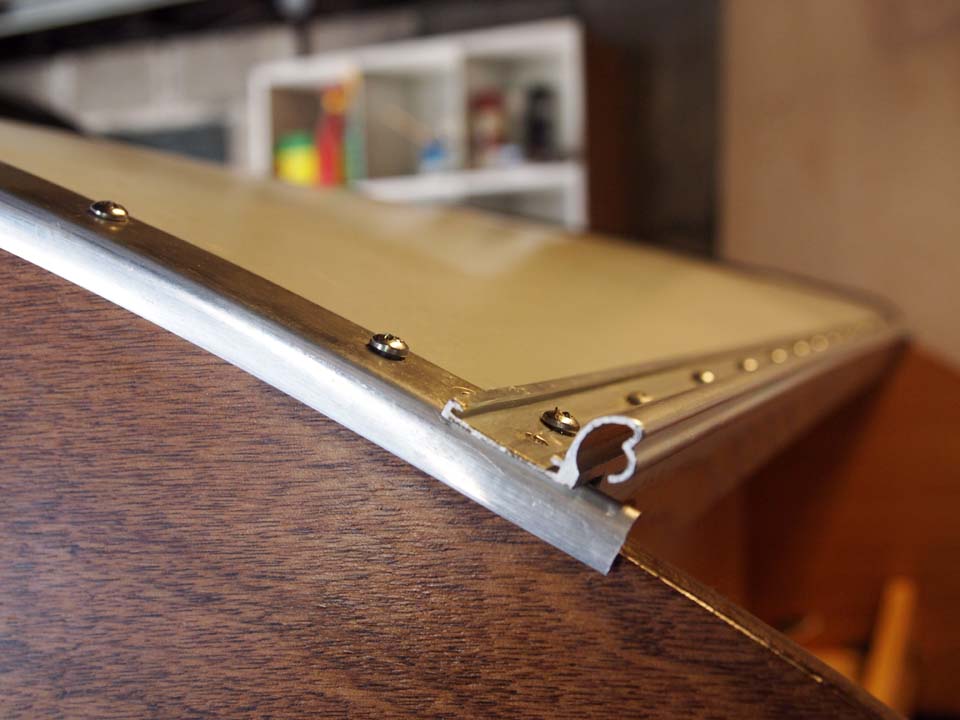

Next step was to trim out the hatch after re-installing
hatch side of the hurricane hinge.
Darrell was extremely excited to find this trim from McMaster-Carr. It was a simple c-channel that fit our ¼”
plywood perfectly. For this install we
simply ran a bead of caulk along the edge of the plywood and carefully bent the
trim into place screwing it in as we went.
We were also lucky that the screw holes lined up almost perfectly with
the spars! Happy coincidence! We also installed a straight length of this
same trim along the bottom edge of the door to protect the edge. Since we didn’t have any screws short enough
to not poke through the ¼” plywood, we simply used a grinder to cut off the
sharp points.


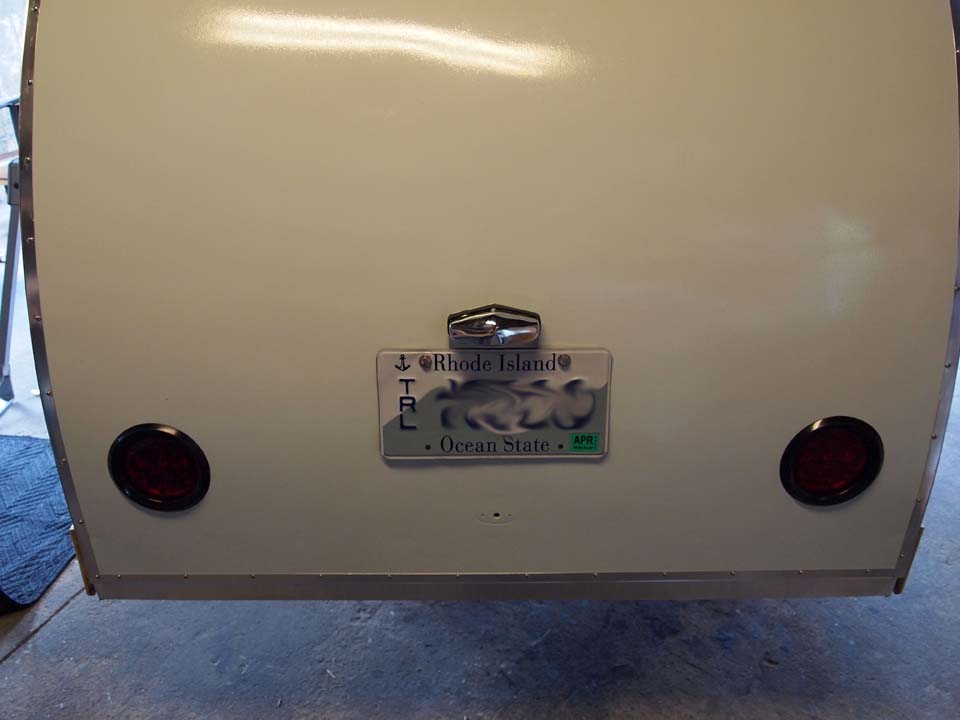
With the trim done, we could finally install the hatch
light and re-install the tail lights, and license plate light. One snafu we found though was that the
taillights protruded slightly too far to be completely covered by the interior plywood
skin. Our solution was to cut out holes
at each of the lights to let them poke through and then to find something to
cover the holes later. With everything
hooked up, we did a test fit of the hatch, to do a capacitance test to make
sure everything was wired correctly.
With the interior skin on, we wouldn’t be able get to any of the wiring!
We then stuffed all of the hatch cavities with blue jean
insulation and installed the plywood skin in the exact same way as described here
– only difference being that we had to be a little more careful to not damage
the new paint job.


The hardware we described here could now be
installed. To act as a catch, we screwed
a 12 gauge metal plate to the lower corners of the exterior walls that each had
a hole pre-drilled into them. The two metal
locking bars would then be able to slide into these holes to secure the hatch
closed. In order for the locking bars to
reach these plates though, we had to pad out the hardware a bit, but we used some
leftover scrap oak to provide a solid anchor.


No comments:
Post a Comment