We’ve finally reached the point during the trailer build
where all of the major projects were done and there were just a handful of
random small projects to finish up.
Instead of doing a bunch of short posts I thought it would be the
easiest to lump them all in one before doing the FINAL reveal post.
Hooking up the
trailer lights
When we bundled all of the wires together for the trailer
into the liquid-tight connector that would be going into the tongue box, there
were four wires that were still left exposed.
This was the wiring for the running lights on either side of the trailer
(a hot and ground wire for each). We had
run these wires to poke out the front of the trailer, and then we ran them
behind the front running board so that they would be grouped in the middle
directly under the liquid-tight connector.

After adding some caulk to the hole in the running board that
they were coming out of, we fed them into the bottom of the tongue box through
a hole Darrell had to drill out. We used the same type of liquid-tight
connector we used at the vent fan for the solar panel lights. Inside the tongue
box they joined the wiring that goes back to the trailer hatch (for the brake,
turn signals, and license plate lights). These wires then all leave the tongue
box through the same bottom hole and then were attached to one half of a four
pin connector. This connector then hooks
up to the trailer hitch when we are on the road so that the car can power and
control the lights.


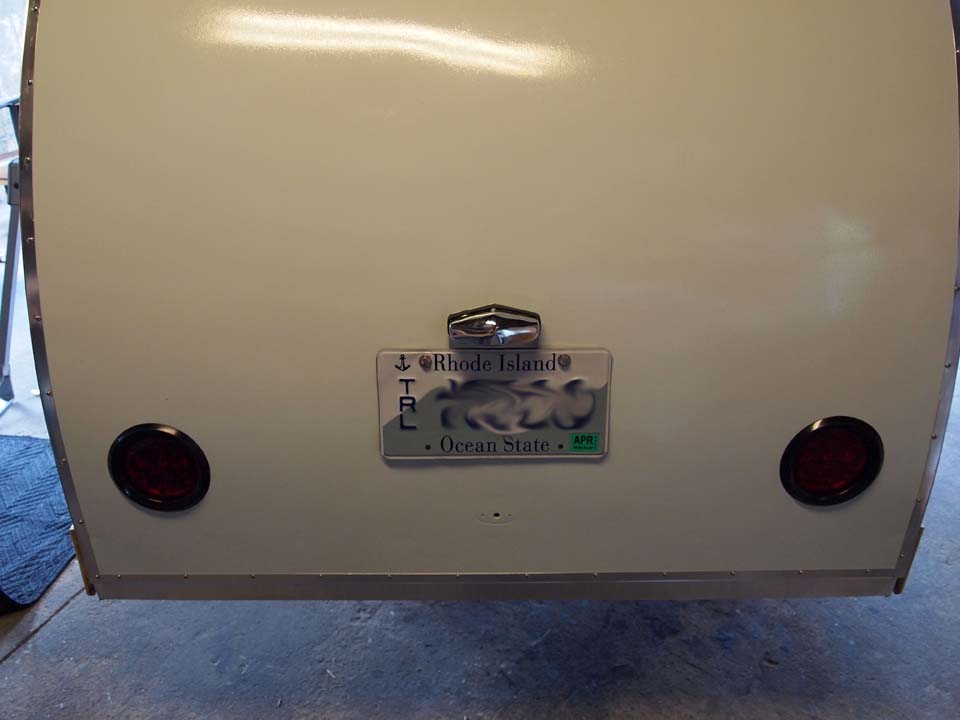
Tail light cover
plates
We found some simple metal blank cover in the electrical
section to hide the holes we made for the tail lights in the hatch. These ended up being a great idea in the long
run because now we had access to the tail lights in case anything electrical
were to go wrong with them.

Hatch wiring.
I put some of the left over black loom over the wires
running from the hatch to the pin connectors in the trailer. This just cleaned up the look a bit and
finished it off.

Sink plumbing
Our sink setup was really simple (though it looks kind of
complicated. We found a drain connection
at Home Depot that fit our sink drain opening perfectly. After cutting the length of the pipe to be a
bit shorter, we then were able to adapt it to a garden hose connector with some
PVC components, rubber hose and hose clamps.
Instead of buying a long length of garden hose, we were able to get a
brass hose connector and clamp a shorter length of vinyl tubing to it. It looks
bit wonky but works really well.
For our water, we simply cut a length of clear vinyl
tubing that would attach to the connection to the hand pump. This tubing could then be fed into a re-used
gallon milk jug we could fill with water.
Simple but effective!


The stove
Before fixing the stove to the pull out shelf, we decided
to protect the wood from the heat of the stove and cooking goo with some more
aluminum flashing. It was cut to size
and then nailed down along the sides of the shelf with twist nails. This would also give us a surface we could easily
clean and possible replace if needed in the future.
For the gas connection, Darrell was able to modify the
regulator that came with the stove so that we could keep the propane hose
connected at all times and still push the shelf in. After this was screwed in and the stove
located, we used some angle brackets to secure the stove in place.


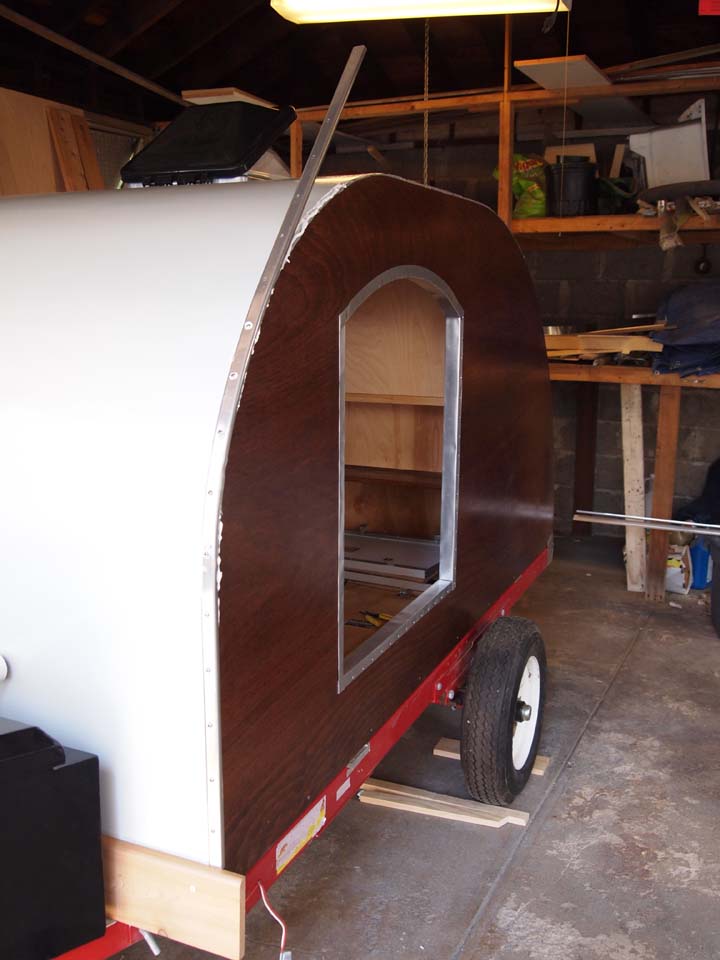
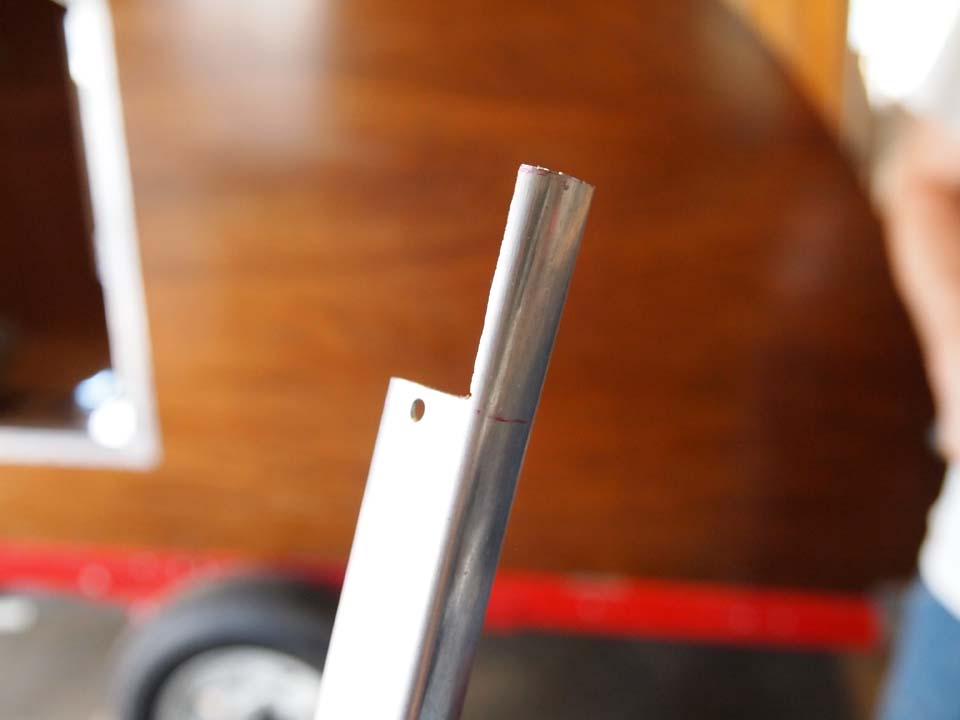
Hatch pole
Though many people used hydraulic pistons (similar to
what you might see on a car) we decided to go low tech and just use a long
pole. So that we could store it in the
trailer, we bought two shorter wood dowels and then used a threaded insert and
double sided bolt so that we could simply screw the two pieces together. On the bottom end of the pole, we actually
nailed on a rubber doorstop to provide the pole with a larger and more gripping
foot.

On the hatch we used a wooden closet rod flange that I
stained the same color as the counter for the pole to sit in.

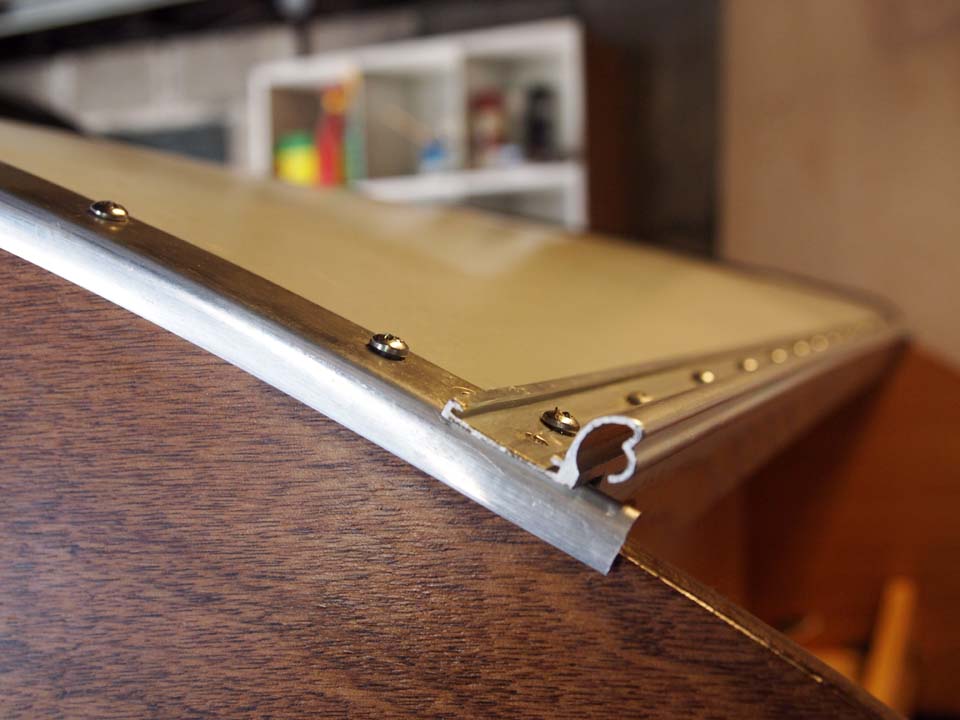
J-molding above
side doors
Above each of the side doors, we installed some curved
j-molding. This molding acts as a drip
edge above the door to help protect it from rain dripping down the wall into
the door. We did our best to bend it to
follow the curve of the door, but ended up making it a shallower curve. It was difficult to bend and we didn’t want
it to disfigure the shape as we were bending.
Since the curve was different, we decided to mount it about an inch
above the edge of the door frame trim.

Weather stripping
About the most frustrating part of the project was the weather
stripping around the doors and hatch.
When everything was installed, the fact that ours was a home built
trailer was definitely showing. Though
it looked great, there were some definite alignment issues at the doors and
hatch, especially on the driver’s side door.
It was tight along the hinge and bottom of the door, but the top right
corner splayed out almost a ¼”! Also at
the bottom of the hatch, it no longer was closing flush and we also had a
pretty big gap to contend with.
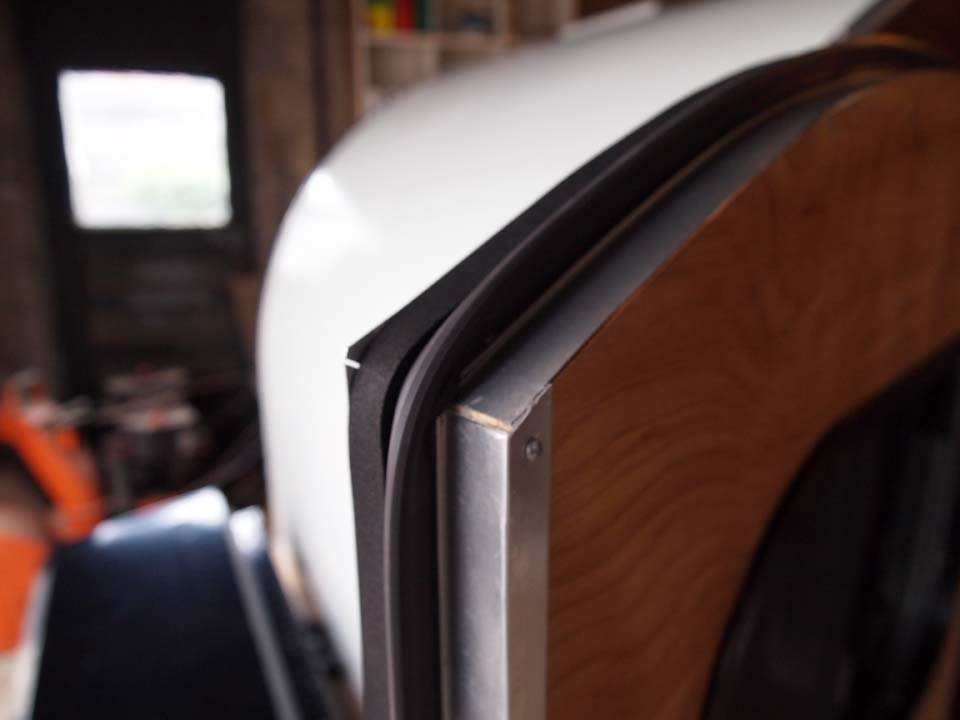
Darrell finally, after a lot of research and hair
pulling, found some ½” x ½” and 1” x 1” weather-resistant neoprene/EPDM/SBR
foam that came in 25’ lengths. This
stuff was closed cell meaning that it restricts absorption and could be used
outdoors. It also had a super strong adhesive
back that could be stuck to the T-molding around the doors.
What we ended up doing was first taping the strips to the
doors and through a series of measuring, opening/closing the doors and test
runs, we trimmed down the weather stripping in the areas we needed to, while
leaving other areas thick so that we could get custom seals around the doors. After this was done, we crossed our fingers
and removed the paper backing, permanently attaching weather stripping. At the side doors, we also attached some thin
rubber P-strip weather stripping (which we got at Home Depot) to the foam
stripping for added sealing and protection.


And after finishing the weather stripping… WE WERE
DONE!!! Some final photos and documentation
of our maiden voyage to follow soon!